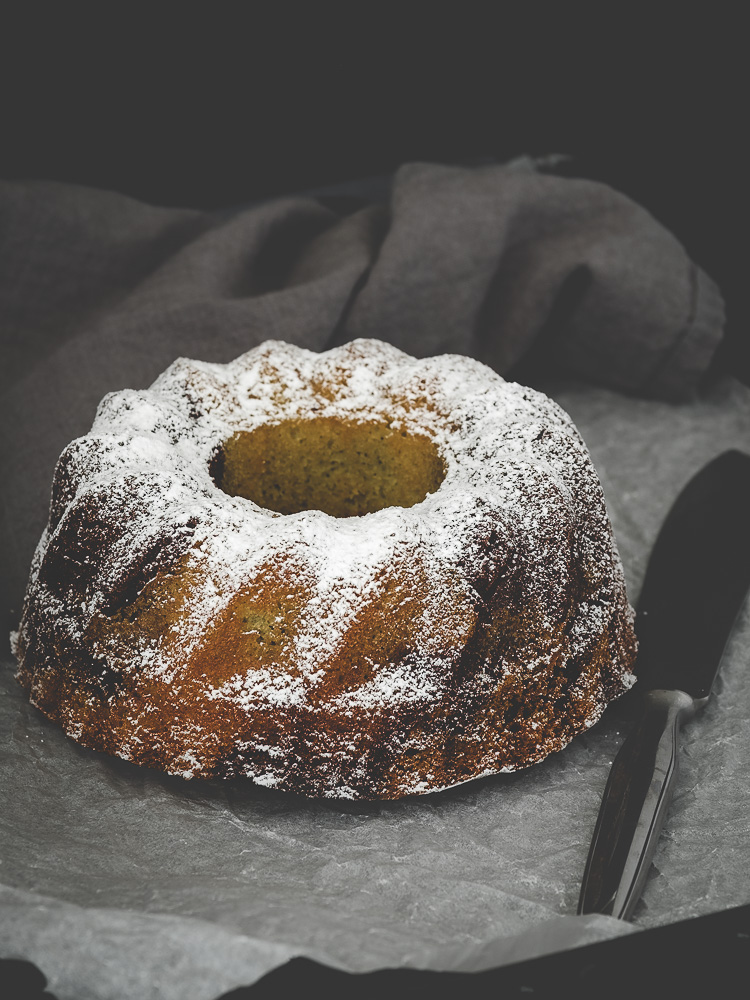
 Winter holidays are over, and I really had a great time. Time to relax, stay in bed watching movies, time to spend with friends and family, and I enjoyed every minute. Honestly, I don’t believe in new year’s resolution, I’m more of a “seize the day” fan and I think happiness is a habit, and a piece of cake, of course. There are so many recipes that I want to try and share, so just let’s get it started. This simple marble cake is perfect for breakfast or tea time, and it is loved especially by kids.
I made this following what is called “two-stage method” or also “reverse creaming method”. Instead of starting with creaming butter and sugar as usual, with this method the dry ingredients (including sugar) are combined with the butter first, and then the liquids are added. This inhibits the formation of gluten and the result is an extremely tender and moist cake. You should definitely give it a try.
ITALIAN VERSION
Le vacanze invernali sono giunte a termine, e devo dire che sono stata davvero bene in questo periodo. Ho avuto tempo per rilassarmi, per stare a letto a guardare film, tempo da spendere con familiari e amici e mi sono veramente goduta ogni momento. Non sono il tipo di persona da propositi di inizio anno, credo di più nel cogliere l’attimo e penso che la felicità sia una buona abitudine, insieme a una bella fetta di torta ovviamente. Ci sono così tante ricette che desidero provare e condividere, per cui: si comincia!
Quella che vi propongo oggi è la torta marmorizzata, o bicolore, un dolce veramente semplice ma buonissimo, perfetto per la colazione o la merenda e i bimbi la adorano.
L’ho preparata seguendo un metodo diverso dal solito infatti invece che montare prima il burro con lo zucchero, in questo caso si amalgamano prima tutti gli ingredienti secchi con il burro, e successivamente si aggiungono tutti i liquidi. In tal modo si inibisce la formazione del glutine e si ottiene una torta estremamente morbida, per cui dovete assolutamente provarla.
Ingredienti
3 uova
100 g zucchero
115 g farina
15 g cacao
90 g burro
2 cucchiai di panna acida/o latte di kefir
½ cucchiaino di lievito
½ cucchiaino di bicarbonato
estratto di vaniglia
pizzico di sale
Procedimento
In una ciotola sbattere le uova con il latte di kefir (o la panna acida) e mettere da parte.
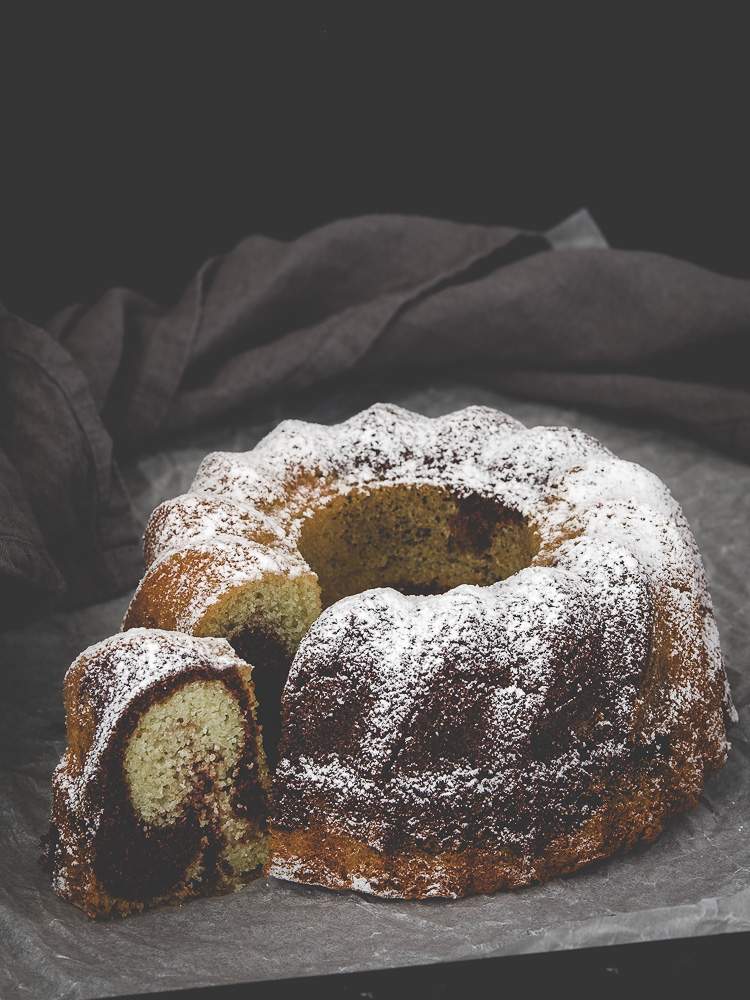
In un altra ciotola, mescolare tutti gli ingredienti secchi (zucchero compreso), aggiungere il burro morbido e sbattere per circa 1 minuto con le fruste elettriche oppure in una planetaria. Aggiungere poco alla volta gli ingredienti liquidi a bassa velocità, infine sbattere per circa 2 minuti a velocità media. Separare l’impasto in due parti uguali e ad una aggiungere il cacao e un goccio di latte per ammorbidire il composto. In uno stampo imburrato e infarinato versare il composto alternando quello al cacao a quello bianco per creare l’effetto marmorizzato bicolore. Io questa volta ho utilizzato uno stampo da kugelhupf che è sempre d’effetto. Cuocere in forno preriscaldato a 175° per circa 45-50 minuti, o finché uno stecchino inserito nel centro esce pulito.
Marble Cake
 (No Ratings Yet)
Ingredients
- 3 eggs
- 100 g caster sugar
- 115 g flour
- 15 g cocoa powder
- 90 g butter
- 2 tbp sour cream/ or kefir milk
- ½ tsp baking powder
- ½ tsp baking soda
- vanilla extract
- pinch of salt
Instructions
In a bowl whisk the eggs with the kefir milk (or sour cream) and set aside.
In a separate bowl place all the dry ingredients (sugar included), add the softened butter and beat for about 1 minute.
Add little by little the wet ingredients on low speed, then beat for about 2 minutes at medium speed.
Separate the batter in two different bowls and add to one part the cocoa powder and a little bit of milk to soften it.
Pour the two mixtures alternatively in a greased cake mould to create the marble effect. This time I went for the kugelhupf mould which is so beautiful.
Bake in a preheated oven at 175° for about 45-50 minutes or until a toothpick inserted in the center comes out clean.
No Comments