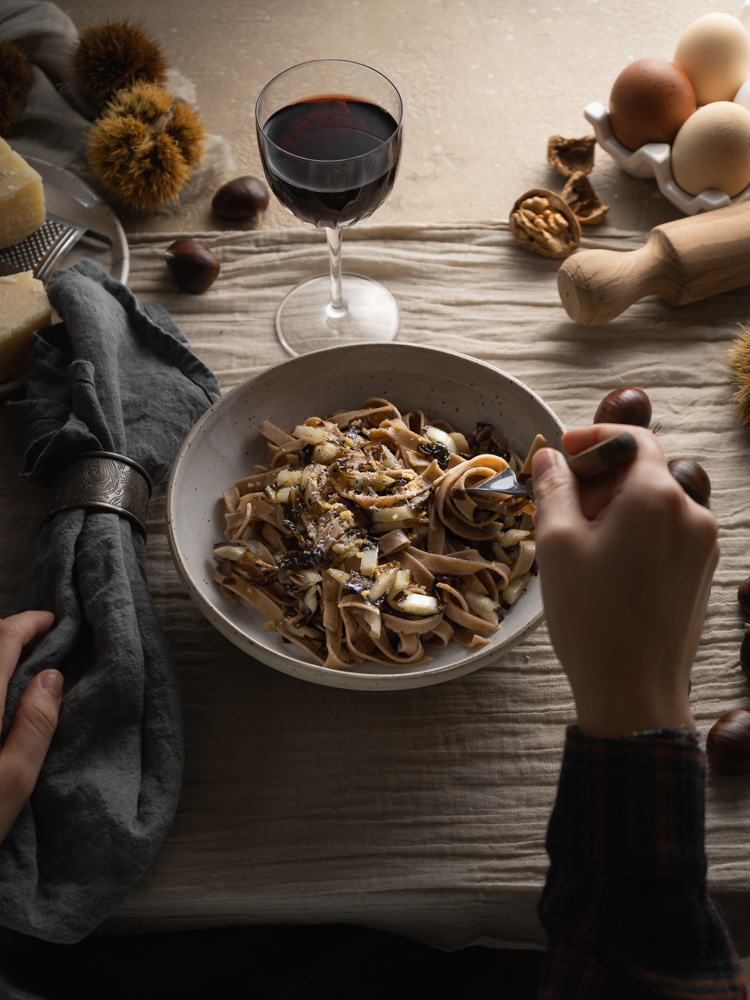
 There’s a nursery rhyme that I always sing when I go picking chestnuts in the nut orchards near my house, I wish I could sing it to you because is so cheerful. The chestnut is one of the most emblematic symbols of autumn, but we don’t use it so much in our recipes but is actually an excellent ingredient for many recipes. Thus, this week I decided to make a special tagliatelle pasta with chestnut flour.
Since the chestnut pasta is already very savory, I chose a simple sauce: radicchio, walnuts. a touch of pepper and grated Parmigiano and you have the perfect comfort food for this fall. These tagliatelle have a wonderful taste and they are also quite thick compared to normal fresh pasta, and I am sure you will enjoy every single bite.
-ITALIAN VERSION-
PASTA FRESCA ALLE CASTAGNE FATTA IN CASA
“La castagna non si bagna quando piove su in montagna, nel suo riccio imbacuccata al riparo se ne sta!” Voi la conoscete la filastrocca della castagna? Io la canto quando vado a raccoglierle, fortunatamente ho dei castagneti proprio dietro casa. A volte ho l’impressione che la castagna sia un po’ bistrattata, invece è uno dei frutti più speciali dell’autunno, e si merita un posto speciale nella nostra cucina. Perciò questa settimana ho preparato una tagliatella speciale con la farina di castagne. La farina di castagne è infatti molto versatile e, oltre che per la preparazione di torte come il castagnaccio, si può utilizzare anche per fare pasta e gnocchi. La pasta alle castagne è piuttosto spessa e ruvida, ed anche molto saporita perciò ho scelto un condimento semplice, un po’ di radicchio passato velocemente in padella, granella di noci per dare croccantezza, una spolverata di parmigiano e di pepe e voilà! Un piatto un po’ rustico, un comfort food perfetto per le giornate autunnali.
Ingredienti per 2 persone
200 g farina “00”
80 g farina castagne
2 uova grandi intere
1 cucchiaio di olio, opzionale
1 cucchiaino di sale fino
Procedimento
-
Disponete la farina a fontana e inserite le uova al centro. Aggiungete il sale e un cucchiaio di olio extra vergine di oliva (opzionale). Mescolate delicatamente con una forchetta, e cominciate ad incorporare le farine.
-
Questo passaggio iniziale può essere anche fatto in una ciotola, oppure in un robot da cucina.
-
Quando il composto non è più liquido incominciate a lavorare l’impasto con le mani. Se siete abituati a lavorare il pane noterete che il tipo di impasto è diverso e, in particolare, più duro, per questo motivo non si può lavorarlo in planetaria. Per cui sarà difficile avvolgerla su se stessa, e i movimenti saranno più piccoli. Io avvolgo un piccolo lembo e poi schiaccio con il palmo della mano e man mano ruoto leggermente la palla di impasto. Se dovesse risultare troppo duro da lavorare potete aggiungere un cucchiaio di latte. È necessario lavorarla per almeno una decina di minuti.
-
Una volta ottenuto un impasto elastico e omogeneo, avvolgetelo nella pellicola e lasciatelo riposare per almeno 30 minuti, per far sì che il glutine si “rilassi”.
-
Una volta riposato, tagliate l’impasto a metà con un tarocco e avvolgete la metà che non utilizzate subito nella pellicola.
-
Assocuratevi che la vostra macchina per tirare la pasta sia ben fissata al tavolo, se avete un Kitcheaid consiglio l’utilizzo dell’apposita sfogliatrice.
-
Infarinate il pezzo di pasta con un pizzico di farina e cercate di formare una forma rettangolare con il mattarello, poi inseritelo nella macchina per la pasta con i rulli alla larghezza massima.
-
Una volta passata, ripiegarla a libro in tre parti, facendole combaciare il più possibile e tagliando irregolarità ed eccedenze.
-
Poi riducete di una tacca in modo da stingere i rulli e passate nuovamente la sfoglia. Continuare fino ad arrivare all’ultima o penultima tacca a seconda dello spessore desiderato. Per questa ricetta io mi sono fermata alla penultima tacca e inoltre per ogni tacca passo la pasta due volte in modo che diventi più omogenea.
-
Stendete quindi le strisce su un piano di lavoro infarinato e lasciate asciugare per circa 10-15 minuti per lato.
-
A questo punto potete realizzare il formato di pasta che preferite, i ho scelto di fare le taglietelle l’apposito accessorio.
-
Se non disponete di un accessorio per tagliatelle niente paura, ecco come farle con un coltello. Prendere una sfoglia e ripiegare un lembo fino a due terzi circa, poiarrotolare formando un rotolino molto piatto.
-
Con un coltello affilato tagliare il rotolo di pasta a fettine di circa 5-7 mm di spessore.
-
Dare aria alle tagliatelle agitandole un po’ e sistemarle su un vassoio con un po’ di semola rimacinata facendo attenzione che non si attacchino, e lasciar essiccare per circa 2 ore.
FRESH HOMEMADE CHESTNUT PASTA
 (No Ratings Yet)
 Loading...
Ingredients
- 200 all-purpose flour
- 80 chestnut flour
- 2 large eggs
- 1 tablespoon olive oil, optional
- 1 teaspoon fine sea salt
Instructions
1
Place the flours on the kitchen table – or in a bowl – and make a well in the center. Then pour the eggs into the well. You can also do this first part into a food processor.
2
Add the salt and a spoonful of extra virgin olive oil (optional).
3
Stir gently with a fork and begin to incorporate the flours.
4
Keep incorporating the flour into the eggs until all the flour has been absorbed.
5
Once everything is combined start kneading the dough on your kitchen counter for at least 10 minutes. You can’t do this in a stand mixer, as the dough is tougher than bread dough, so you have to do it by hand. If the dough is too tough you can add a splash of milk.
6
After ten minutes, make a ball and wrap it in a cling film, let it rest for at least 30 minutes to allow the gluten to “relax”.
7
After resting, remove the dough from the fridge and cut it into 2 equal pieces. Set aside and cover with a cling film to stop it from drying out.
8
First, make sure that your pasta maker machine is clamped firmly to the table. If you have a KitchenAid stand mixer I strongly recommend the pasta roller attachment as it makes the process easier.
9
Dust your work surface with some semolina flour.
10
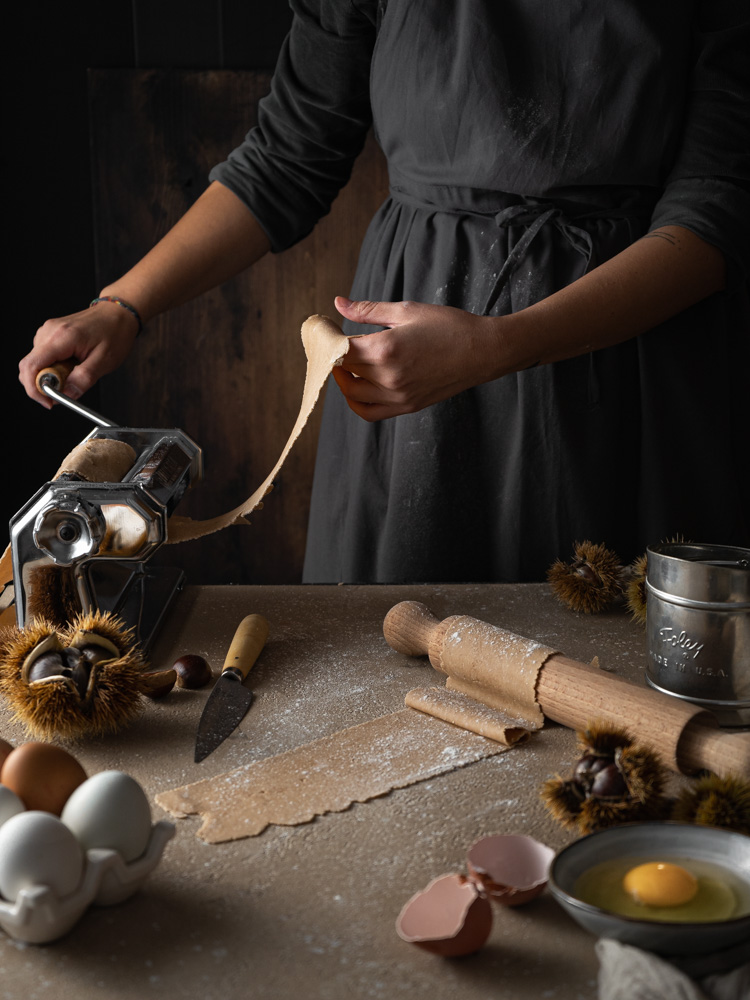
Take your piece of pasta dough and press it out flat with the palms of your hands. Roll it through the widest (fully open rollers) setting of your pasta machine.
11
Lightly dust both sides of the pasta sheet with flour and fold it in half. Feed the pasta sheet through the smooth rollers several times, until it is long and regular in shape.
12
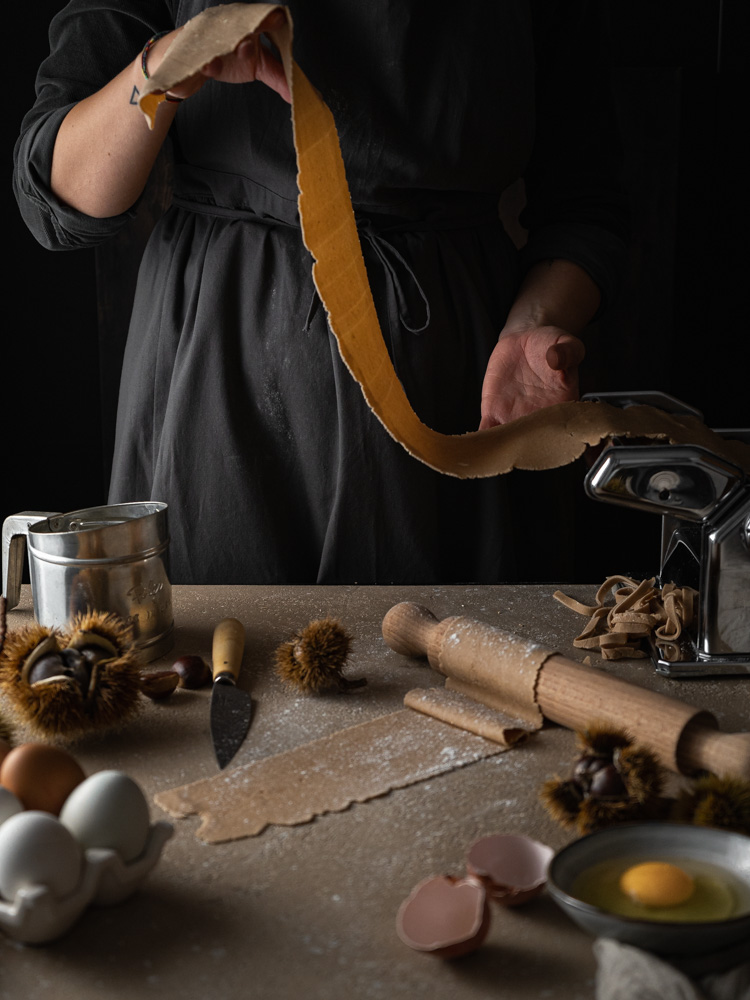
Set the adjustment knob of the machine to number 1, and pass the pasta sheet through once more.
13
Repeat the process and so on until you reach the desired thickness. For this ravioli pasta, I stopped at number 6 (being number 7 the last one).
14
Repeat with the other piece of pasta. Then let the pasta sheets dry on a surface dusted with semolina flour for about 10-15 minutes per side.
15
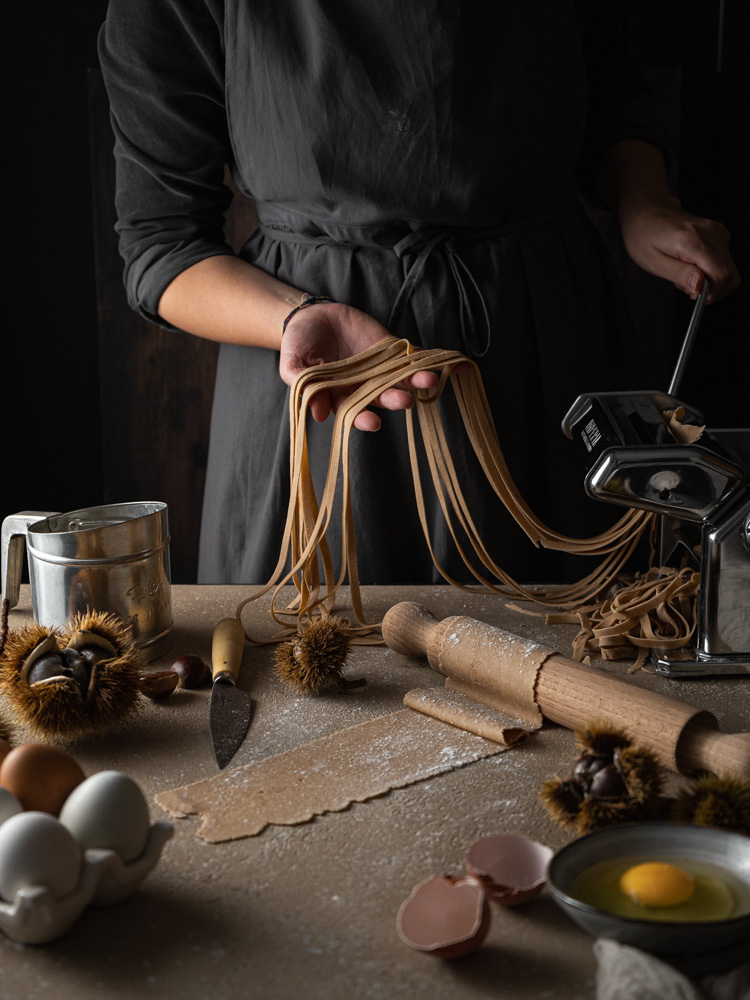
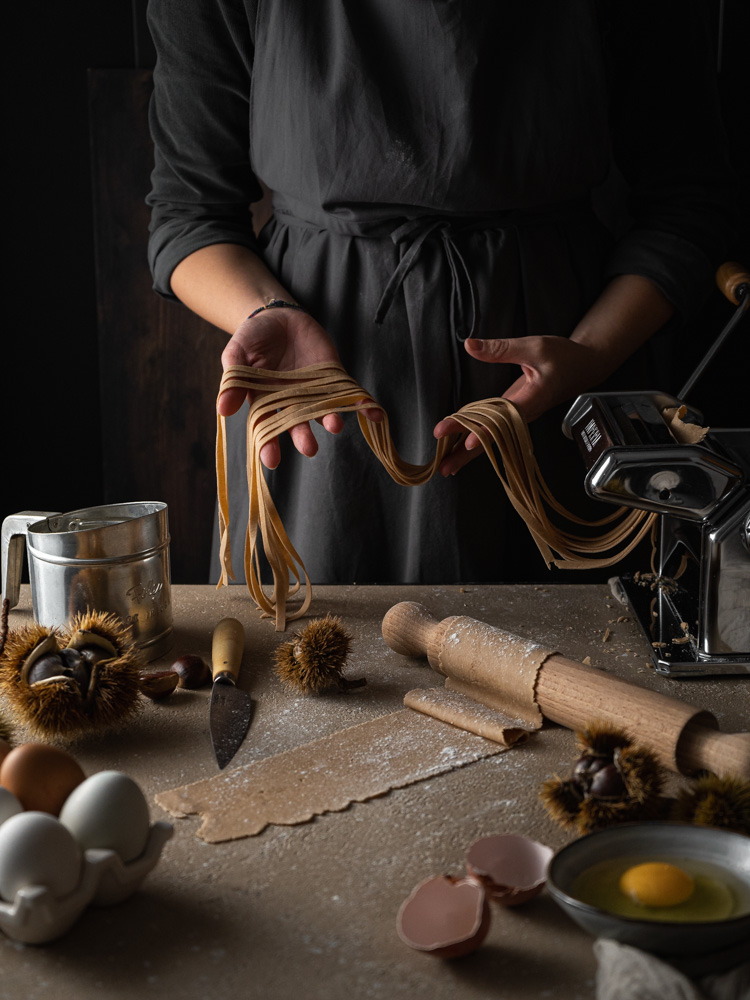
You can now make your favorite pasta shape, I made tagliatelle this time.
16
To cut the pasta sheets into tagliatelle you can use the pasta maker machine accessory or simply use a knife: take one end of one pasta sheet and start to roll it to form a flat roll.
17
Using a sharp knife, slice it into 5-7 mm thick noodles.
18
Place them onto a baking tray dusted with semolina flour, and let them desiccate for a couple of hours before using the
Notes
If you want to store the pasta you can keep it in the freezer for up to 3 months in individual freezer bags. Si può congelare e conservare in freezer fino a 3 mesi, in appositi sacchetti per congelo.
FRESH HOMEMADE CHESTNUT PASTA
(No Ratings Yet)Ingredients
- 200 all-purpose flour
- 80 chestnut flour
- 2 large eggs
- 1 tablespoon olive oil, optional
- 1 teaspoon fine sea salt
Instructions
Place the flours on the kitchen table – or in a bowl – and make a well in the center. Then pour the eggs into the well. You can also do this first part into a food processor.
Add the salt and a spoonful of extra virgin olive oil (optional).
Stir gently with a fork and begin to incorporate the flours.
Keep incorporating the flour into the eggs until all the flour has been absorbed.
Once everything is combined start kneading the dough on your kitchen counter for at least 10 minutes. You can’t do this in a stand mixer, as the dough is tougher than bread dough, so you have to do it by hand. If the dough is too tough you can add a splash of milk.
After ten minutes, make a ball and wrap it in a cling film, let it rest for at least 30 minutes to allow the gluten to “relax”.
After resting, remove the dough from the fridge and cut it into 2 equal pieces. Set aside and cover with a cling film to stop it from drying out.
First, make sure that your pasta maker machine is clamped firmly to the table. If you have a KitchenAid stand mixer I strongly recommend the pasta roller attachment as it makes the process easier.
Dust your work surface with some semolina flour.
Take your piece of pasta dough and press it out flat with the palms of your hands. Roll it through the widest (fully open rollers) setting of your pasta machine.
Lightly dust both sides of the pasta sheet with flour and fold it in half. Feed the pasta sheet through the smooth rollers several times, until it is long and regular in shape.
Set the adjustment knob of the machine to number 1, and pass the pasta sheet through once more.
Repeat the process and so on until you reach the desired thickness. For this ravioli pasta, I stopped at number 6 (being number 7 the last one).
Repeat with the other piece of pasta. Then let the pasta sheets dry on a surface dusted with semolina flour for about 10-15 minutes per side.
You can now make your favorite pasta shape, I made tagliatelle this time.
To cut the pasta sheets into tagliatelle you can use the pasta maker machine accessory or simply use a knife: take one end of one pasta sheet and start to roll it to form a flat roll.
Using a sharp knife, slice it into 5-7 mm thick noodles.
Place them onto a baking tray dusted with semolina flour, and let them desiccate for a couple of hours before using the
Notes
If you want to store the pasta you can keep it in the freezer for up to 3 months in individual freezer bags. Si può congelare e conservare in freezer fino a 3 mesi, in appositi sacchetti per congelo.
No Comments